How to Make Homemade Jam in 10 Minutes with Just 3 Ingredients
Are you ready to make your own homemade jam? It’s easier than you think, and with just 2 cups of fruit, 1 cup of sugar, and 2 tablespoons of lemon juice, you can whip up a batch in 10 minutes.
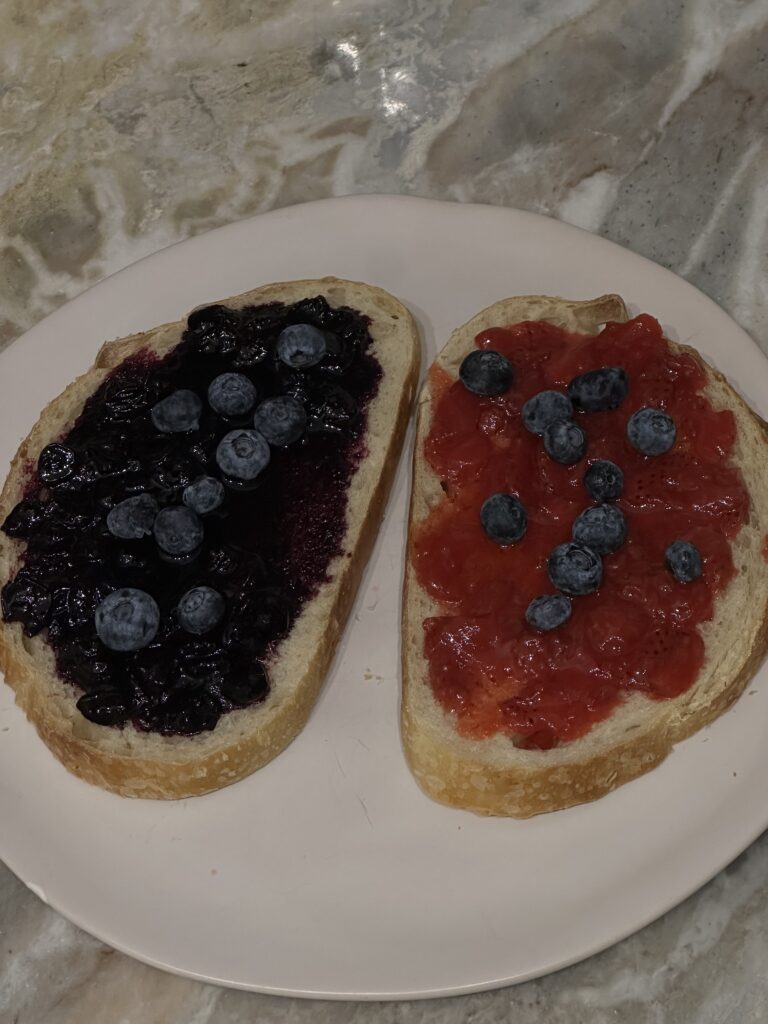
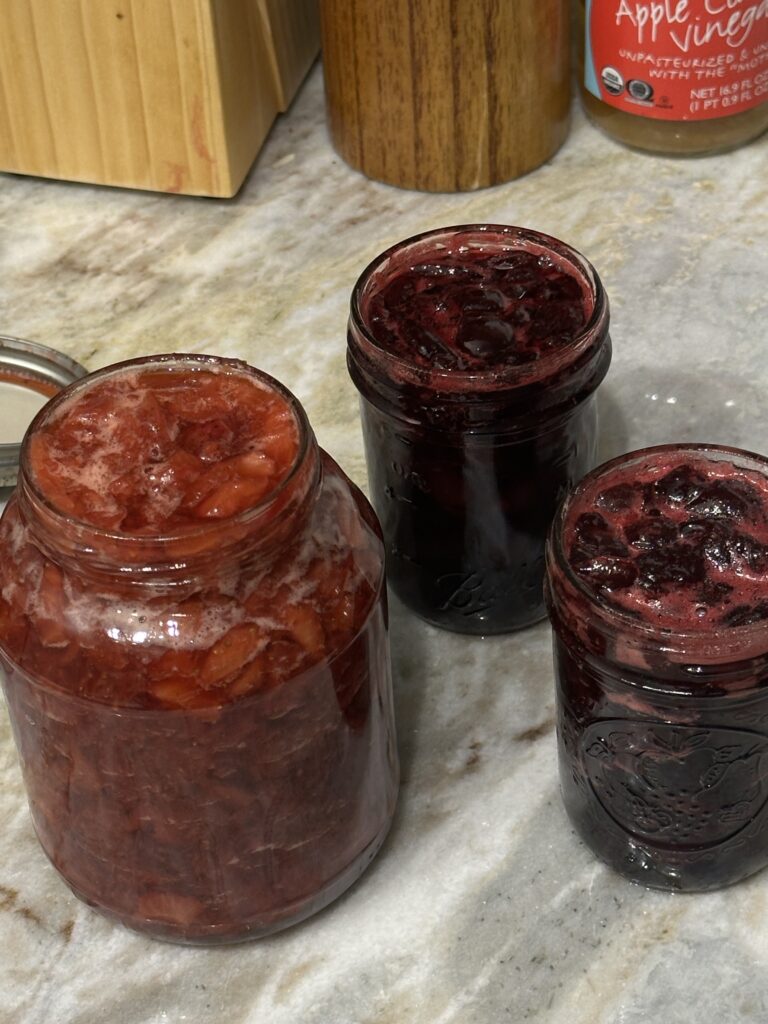
This no-fuss recipe is perfect for beginners, and the best part? You can customize it with your favorite fruits like strawberries, blueberries, or cherries. Plus, I’ll show you how to use the leftover juice to create a delicious syrup for your homemade matcha or lattes. Here is how to make homemade jam in 10 minutes with just 3 ingredients, let’s get started!
What You’ll Need:
- 2 cups of fresh fruit (strawberries, blueberries, cherries, or your favorite fruit!)
- 1 cup of sugar
- 2 tablespoons of lemon juice
- A stainless steel pan
- Stirring spoon
- Strainer (if you want to make syrup)
- Mason jars (for storing)
Step-by-Step Guide to Making Homemade Jam
Step 1: Prepare Your Fruit
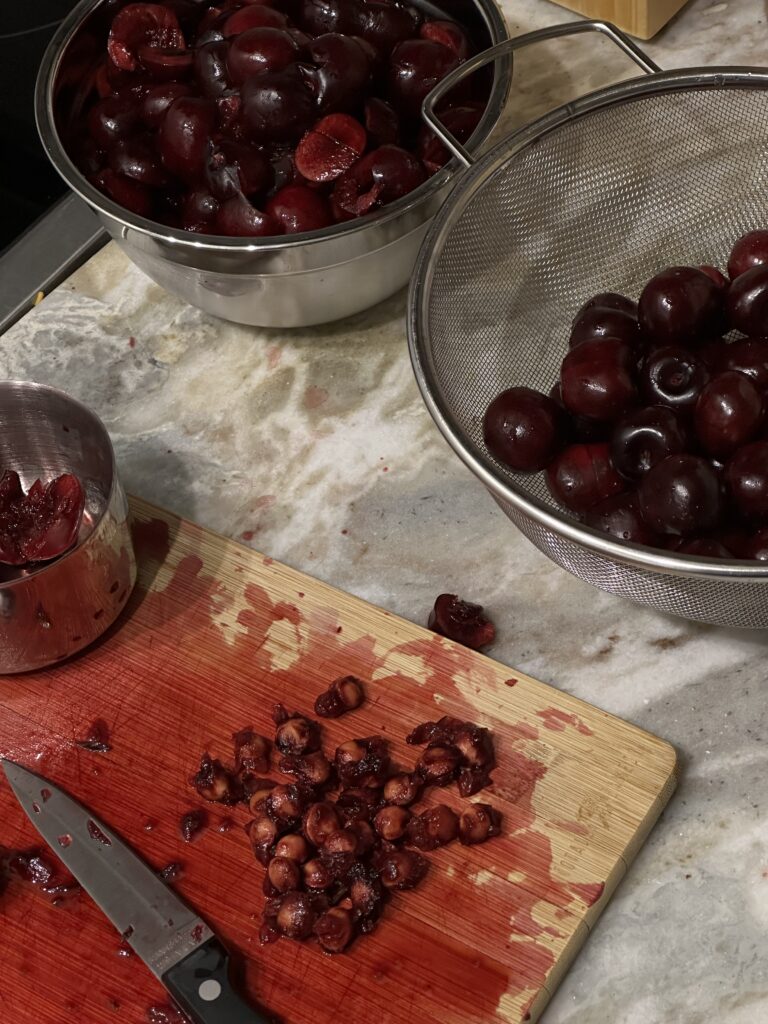
Start by washing your fruit thoroughly under cold water. If you’re using larger fruits like strawberries or cherries, remove the stems and pits, then chop them into smaller pieces. Blueberries or other smaller fruits can be used whole.
Step 2: Mix Ingredients in a Pan
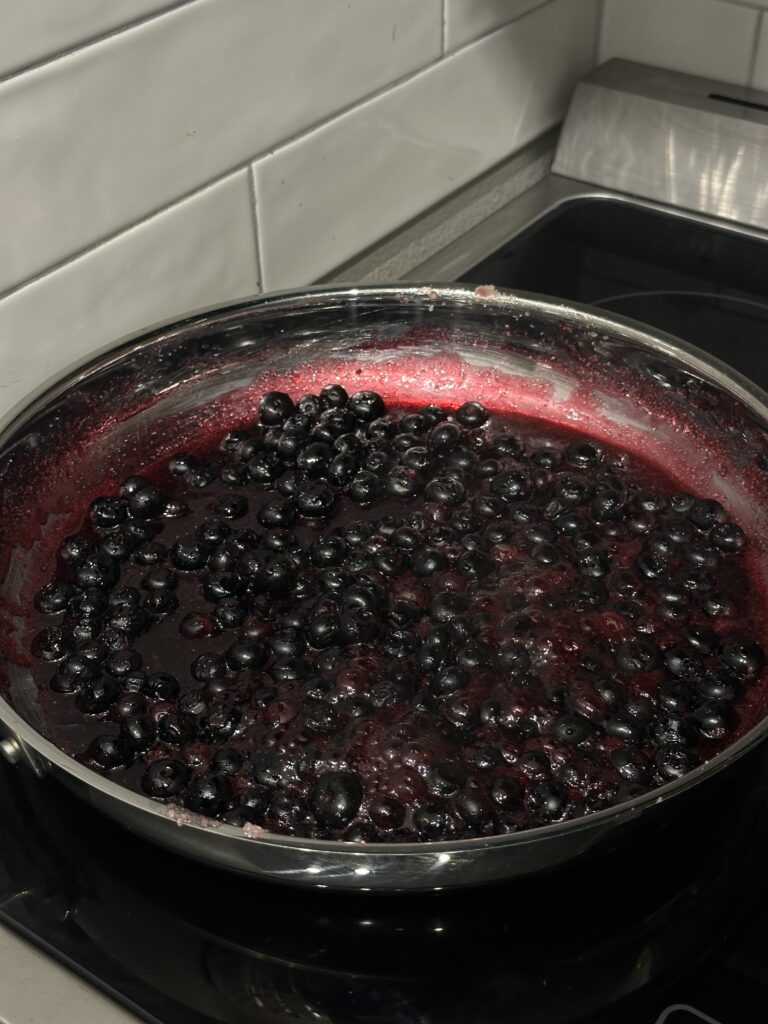
Bring a stainless steel pan(or any pan you have) to medium high heat. Combine your 2 cups of fruit, 1 cup of sugar, and 2 tablespoons of lemon juice. Set a timer for 10 minutes.The lemon juice is key for balancing the sweetness and helping the jam set properly.
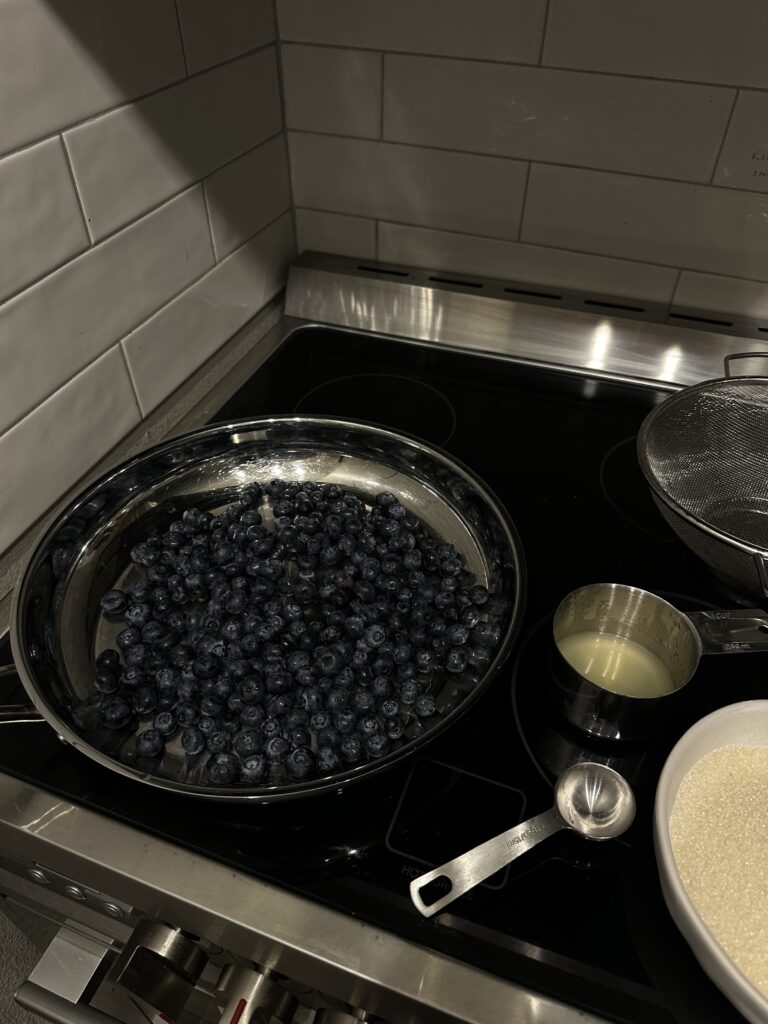
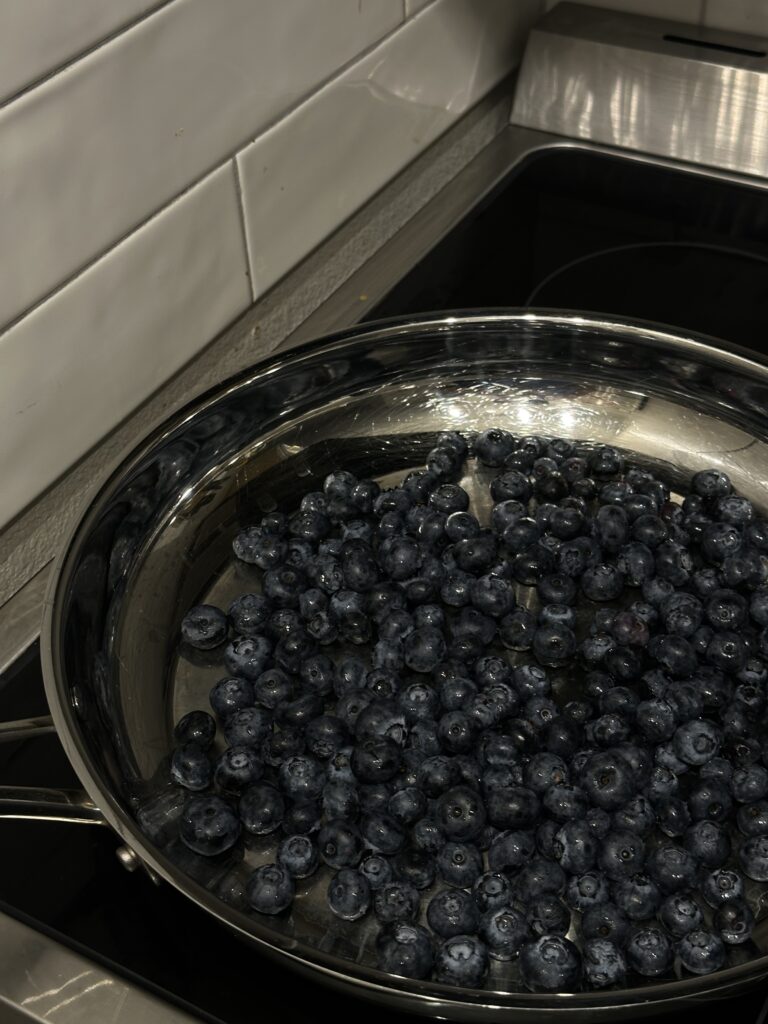
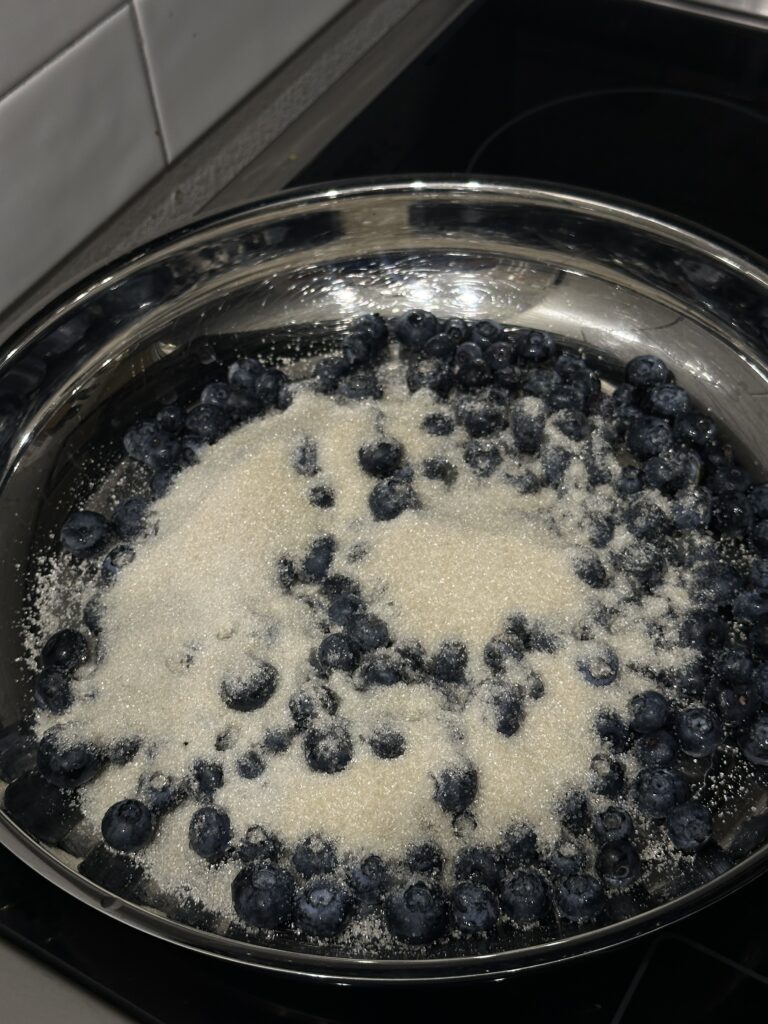
Step 3: Heat and Stir
Stir constantly as the fruit starts to break down and release its juices. As the mixture heats up, the sugar will dissolve, and the fruit will become soft and syrupy. Continue stirring for about 7-10 minutes until the mixture thickens. You can mash the fruit with the back of a spoon if you prefer a smoother texture or leave some chunks for a more rustic jam.

Step 4: Test for Doneness
To check if your jam is ready, take a spoonful of the mixture and place it on a chilled plate. Let it sit for a minute. If it wrinkles when you push it with your finger, the jam is ready! If not, let it cook for another 1-2 minutes and test again.
Step 5: Transfer to Mason Jars
Pro Tip: Make Homemade Syrup with Leftover Juice
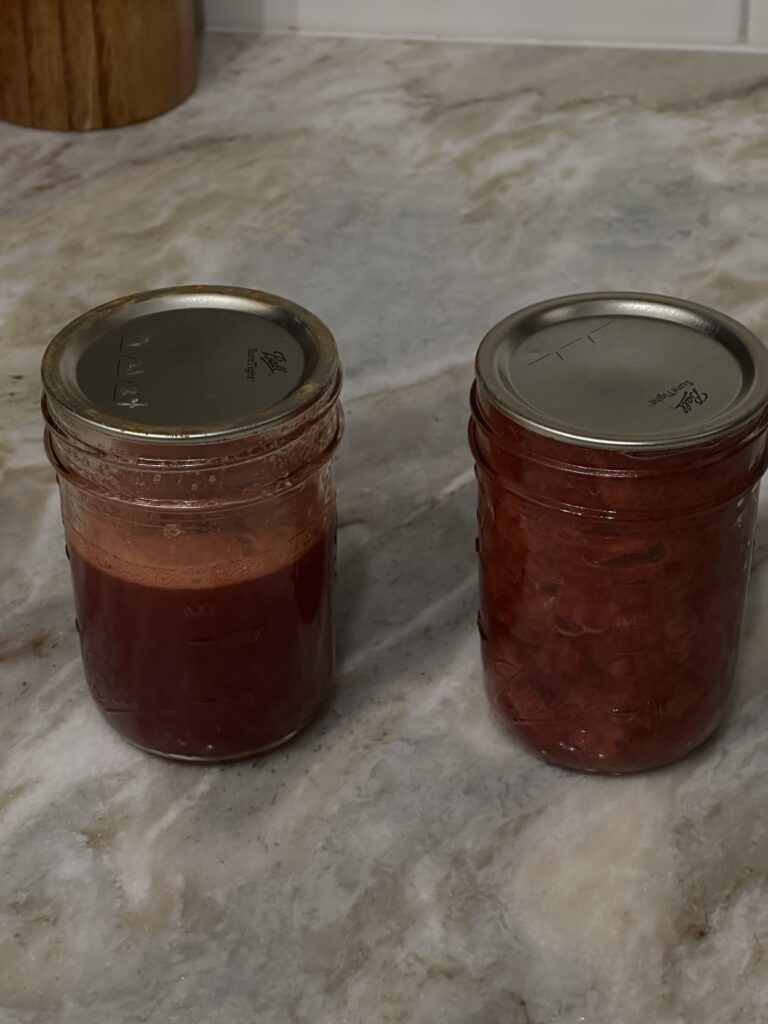
If you find that your jam has a bit of excess juice, don’t throw it away! Strain the juice into a separate jar and store it in the fridge. This sweet, fruity syrup is perfect for drizzling over pancakes, adding to iced matcha, or mixing into homemade lattes.
Once your jam is at the right consistency, remove it from the heat. Carefully pour the jam into clean mason jars, leaving a bit of space at the top. Wipe the rims clean, seal the jars with lids, and let them cool at room temperature before placing them in the fridge.
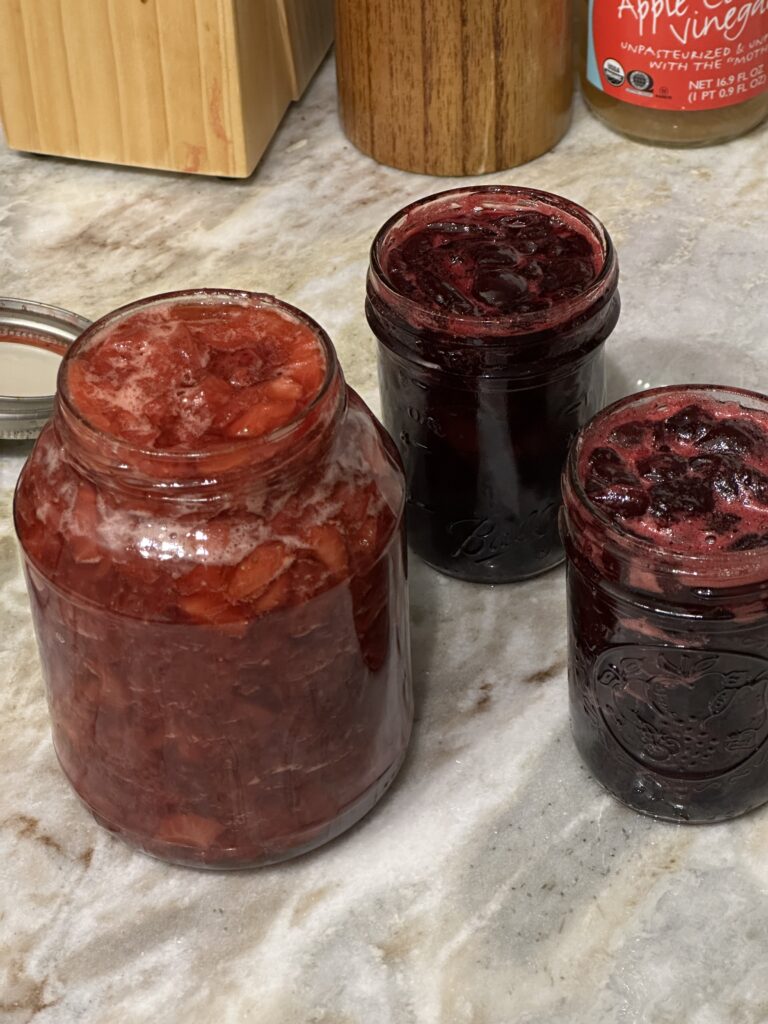
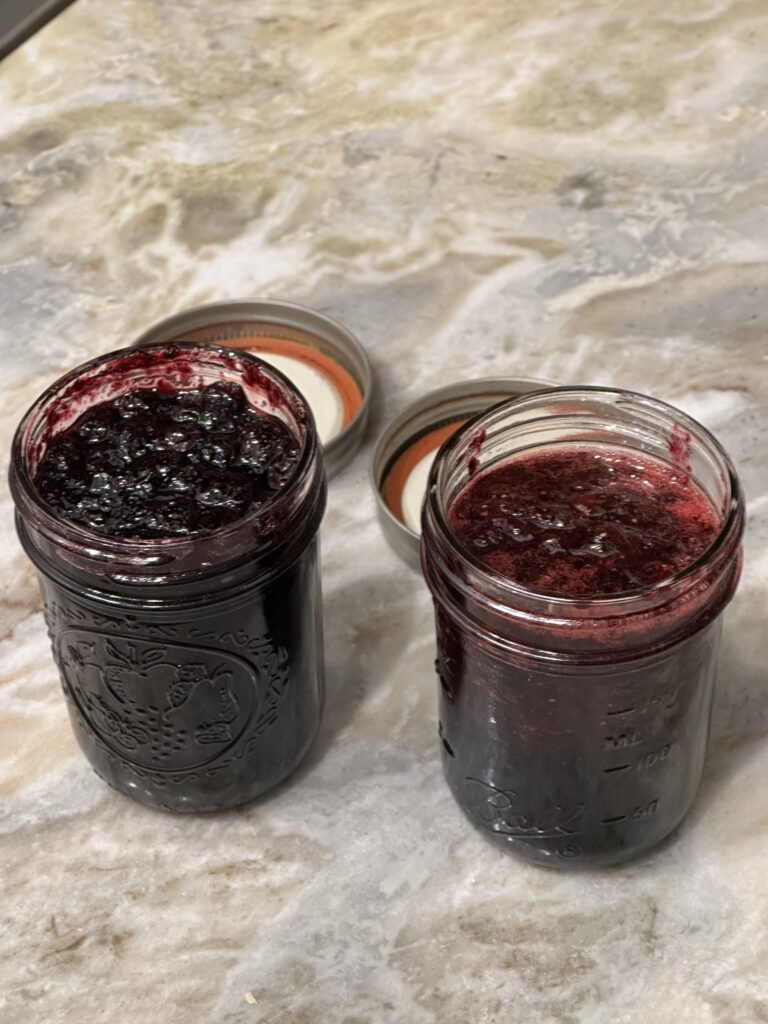
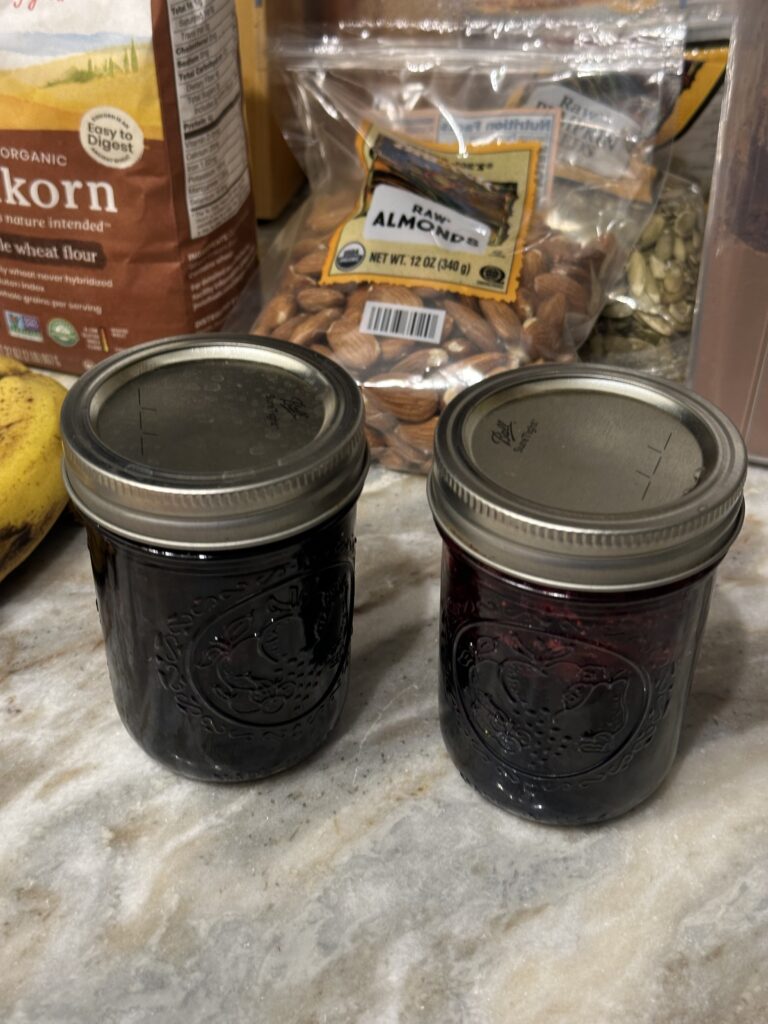
Step 6: Let It Set in the Fridge
For best results, let the jam set in the fridge for at least 48 hours. This gives the jam time to thicken and allows the flavors to fully develop. Once set, your homemade jam will be ready to enjoy on toast, in yogurt, or however you like!
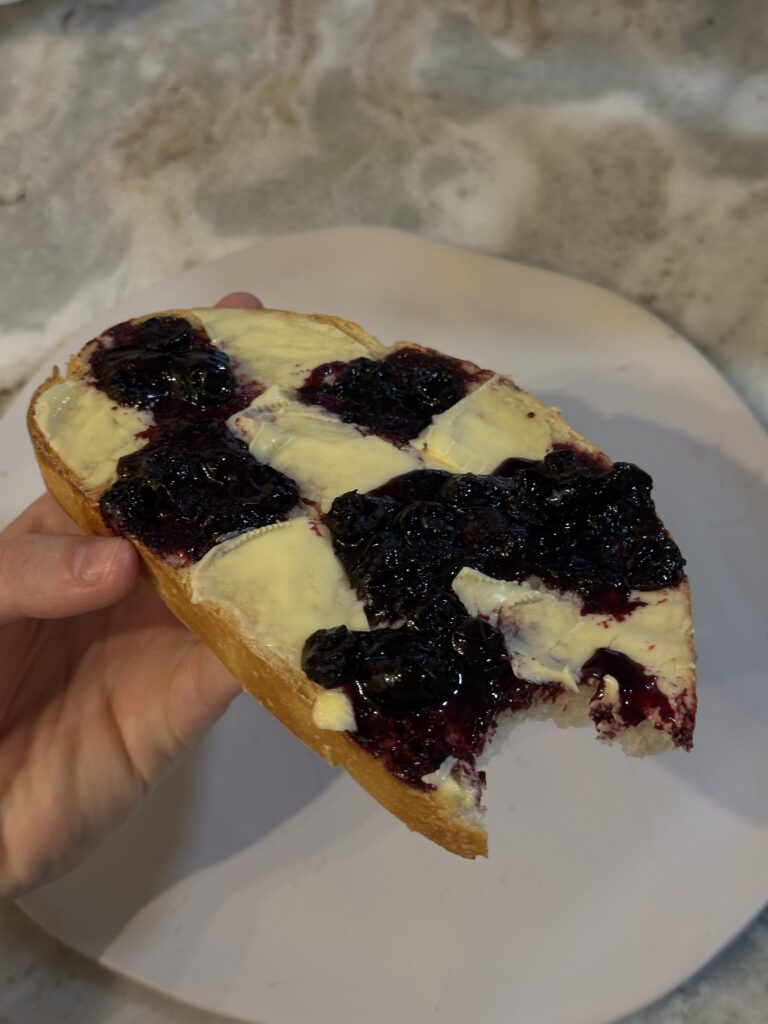
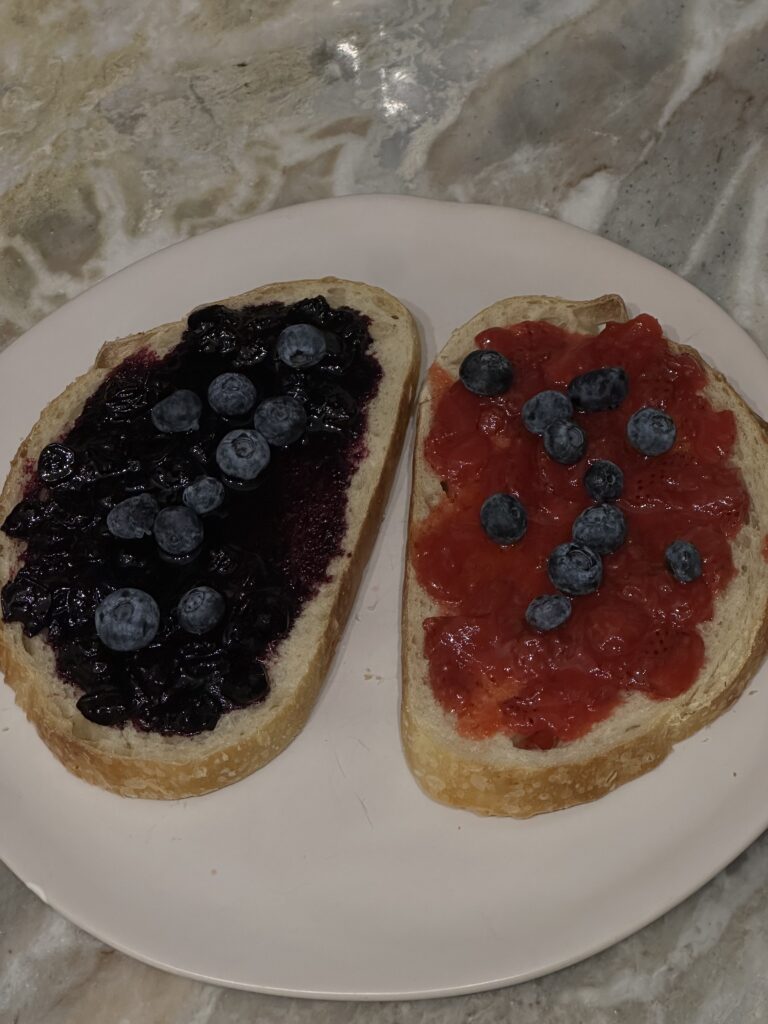
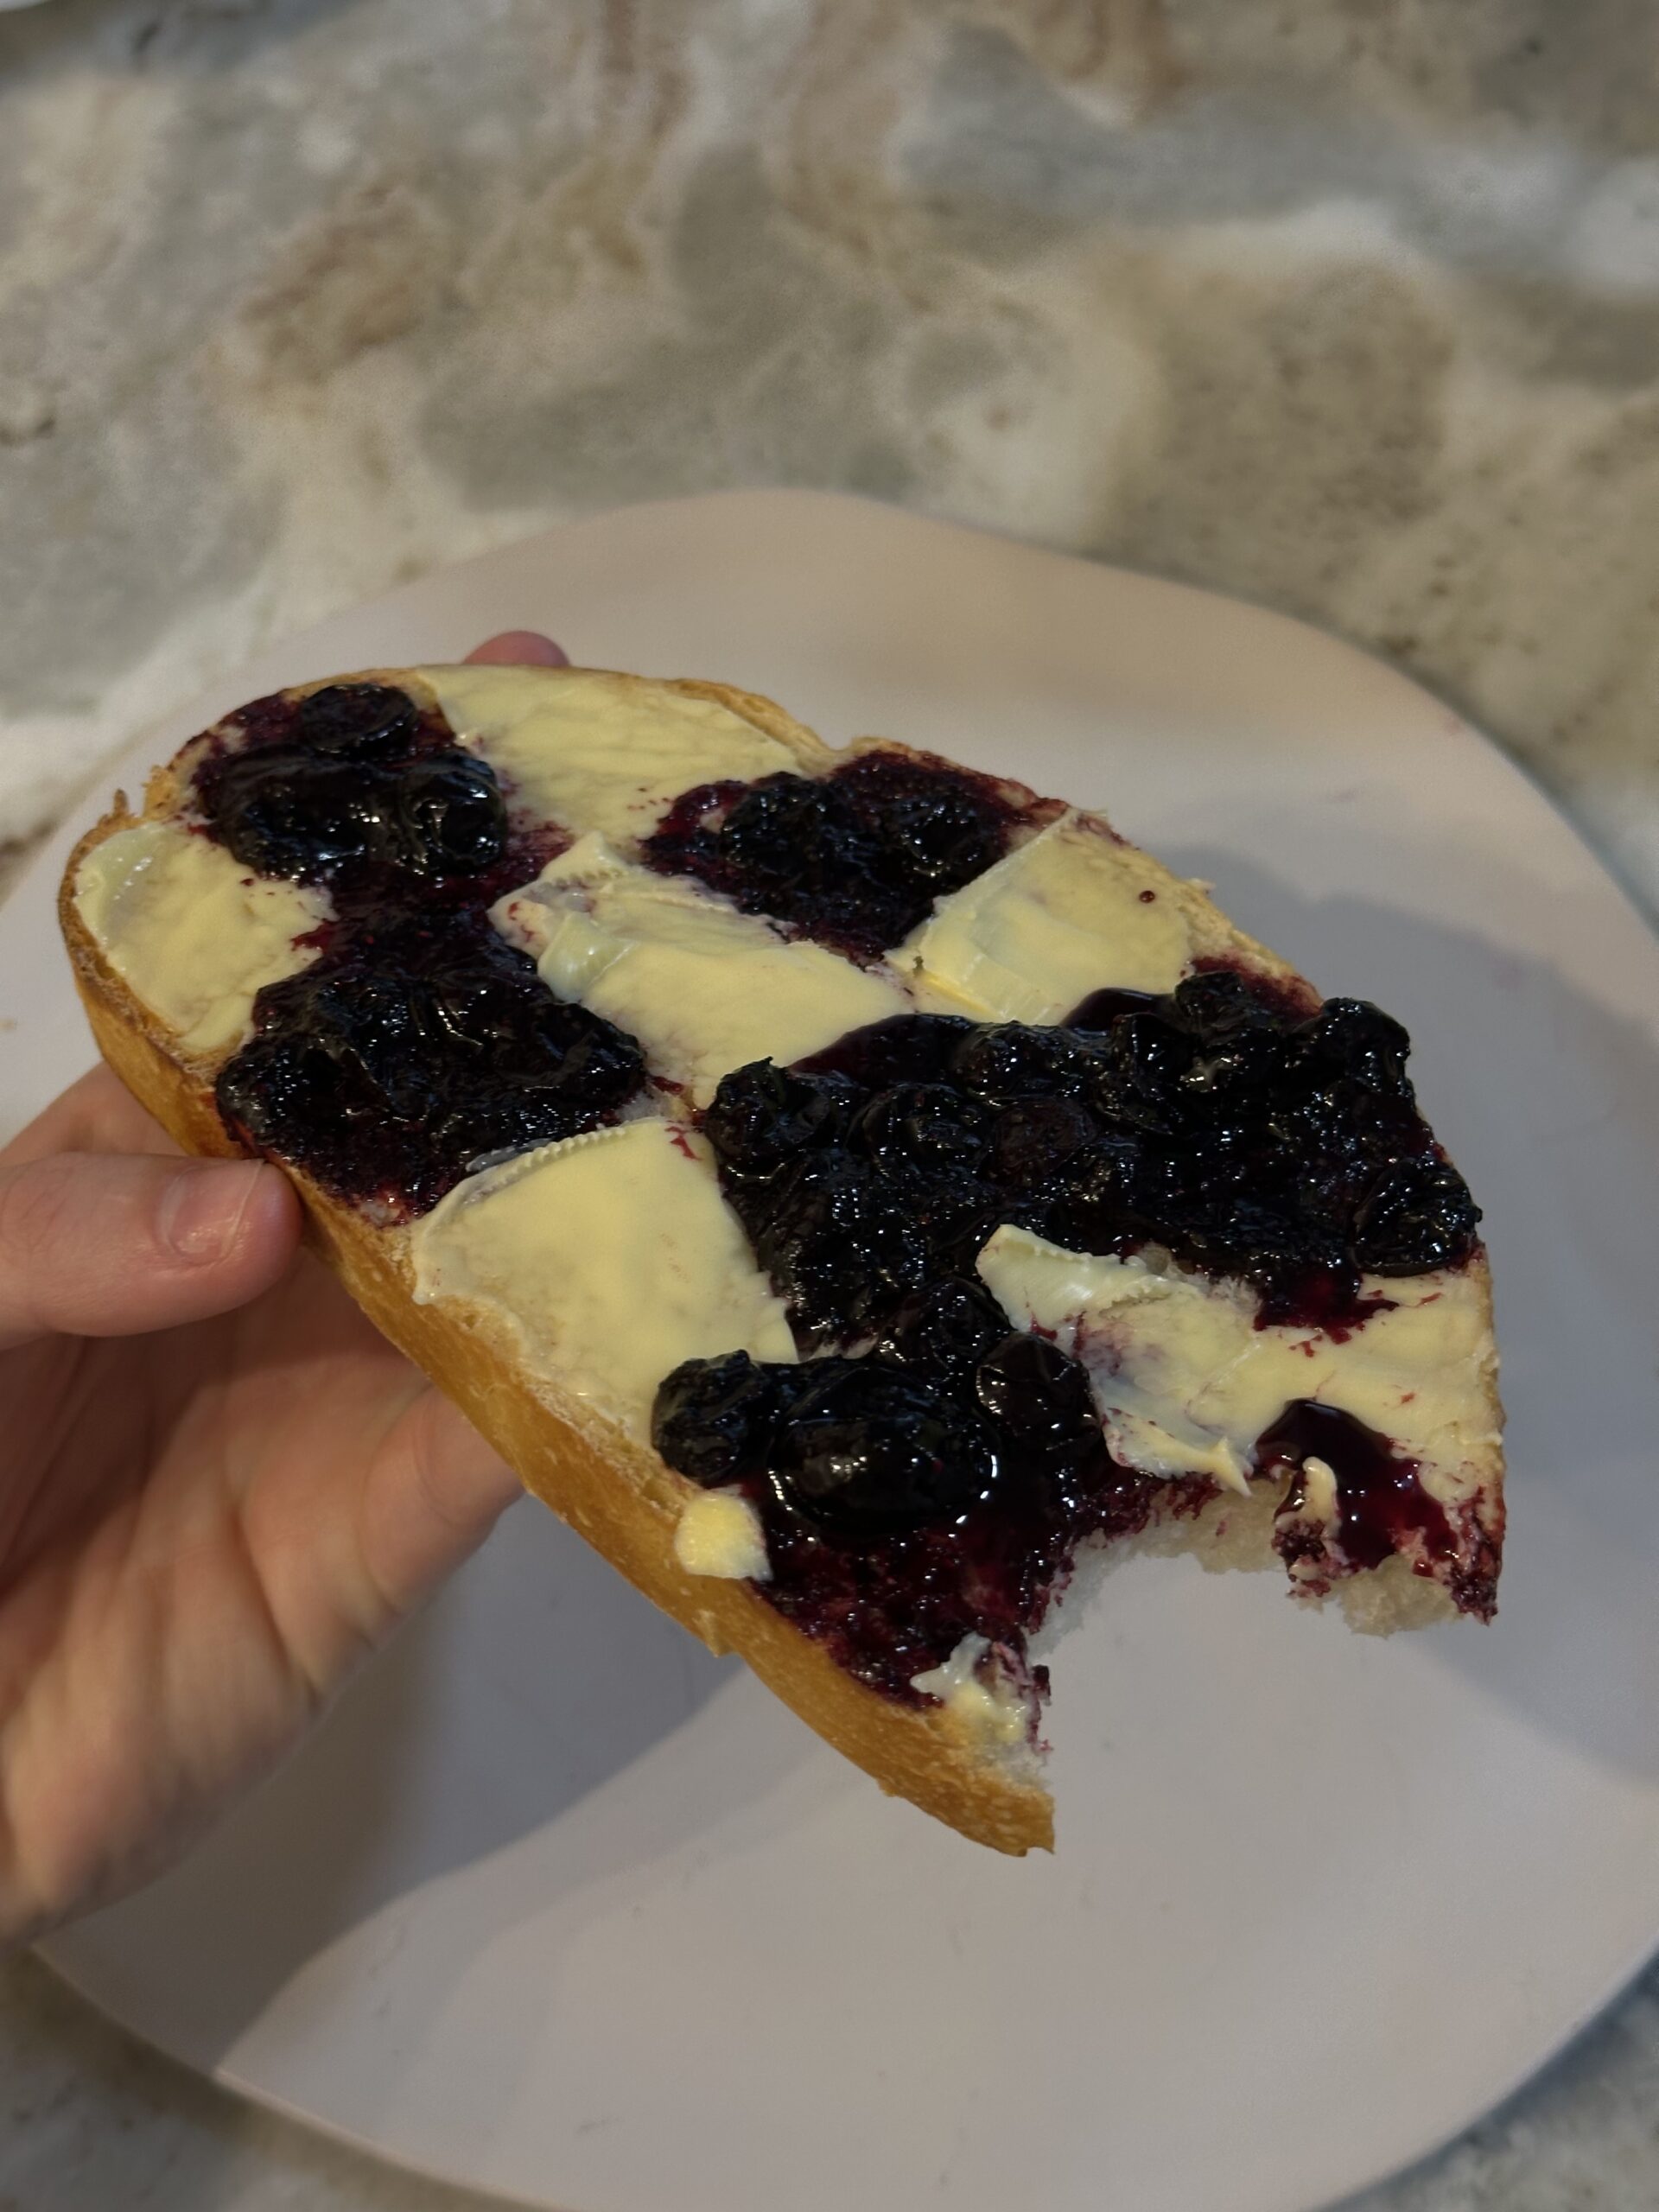
Enjoy on toast, crackers, dessert, sandwiches, & more!
In just 10 minutes, you can create a delicious homemade jam with only three simple ingredients. Whether you’re making strawberry, blueberry, or cherry jam, this recipe is easy, customizable, and perfect for beginners.
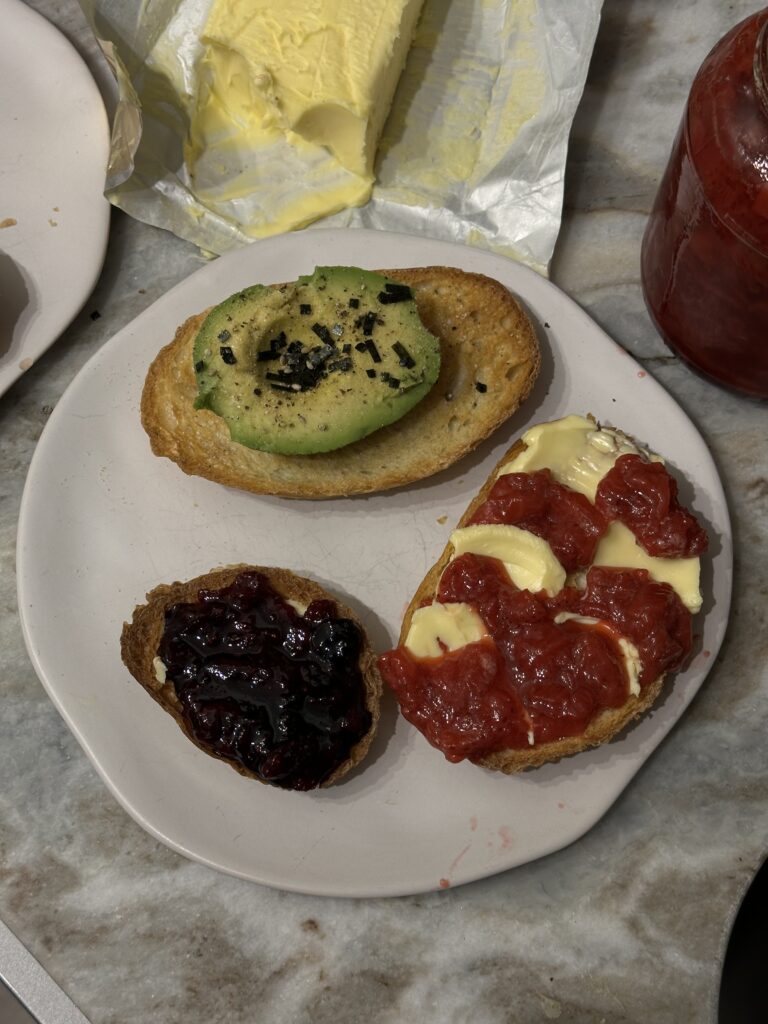
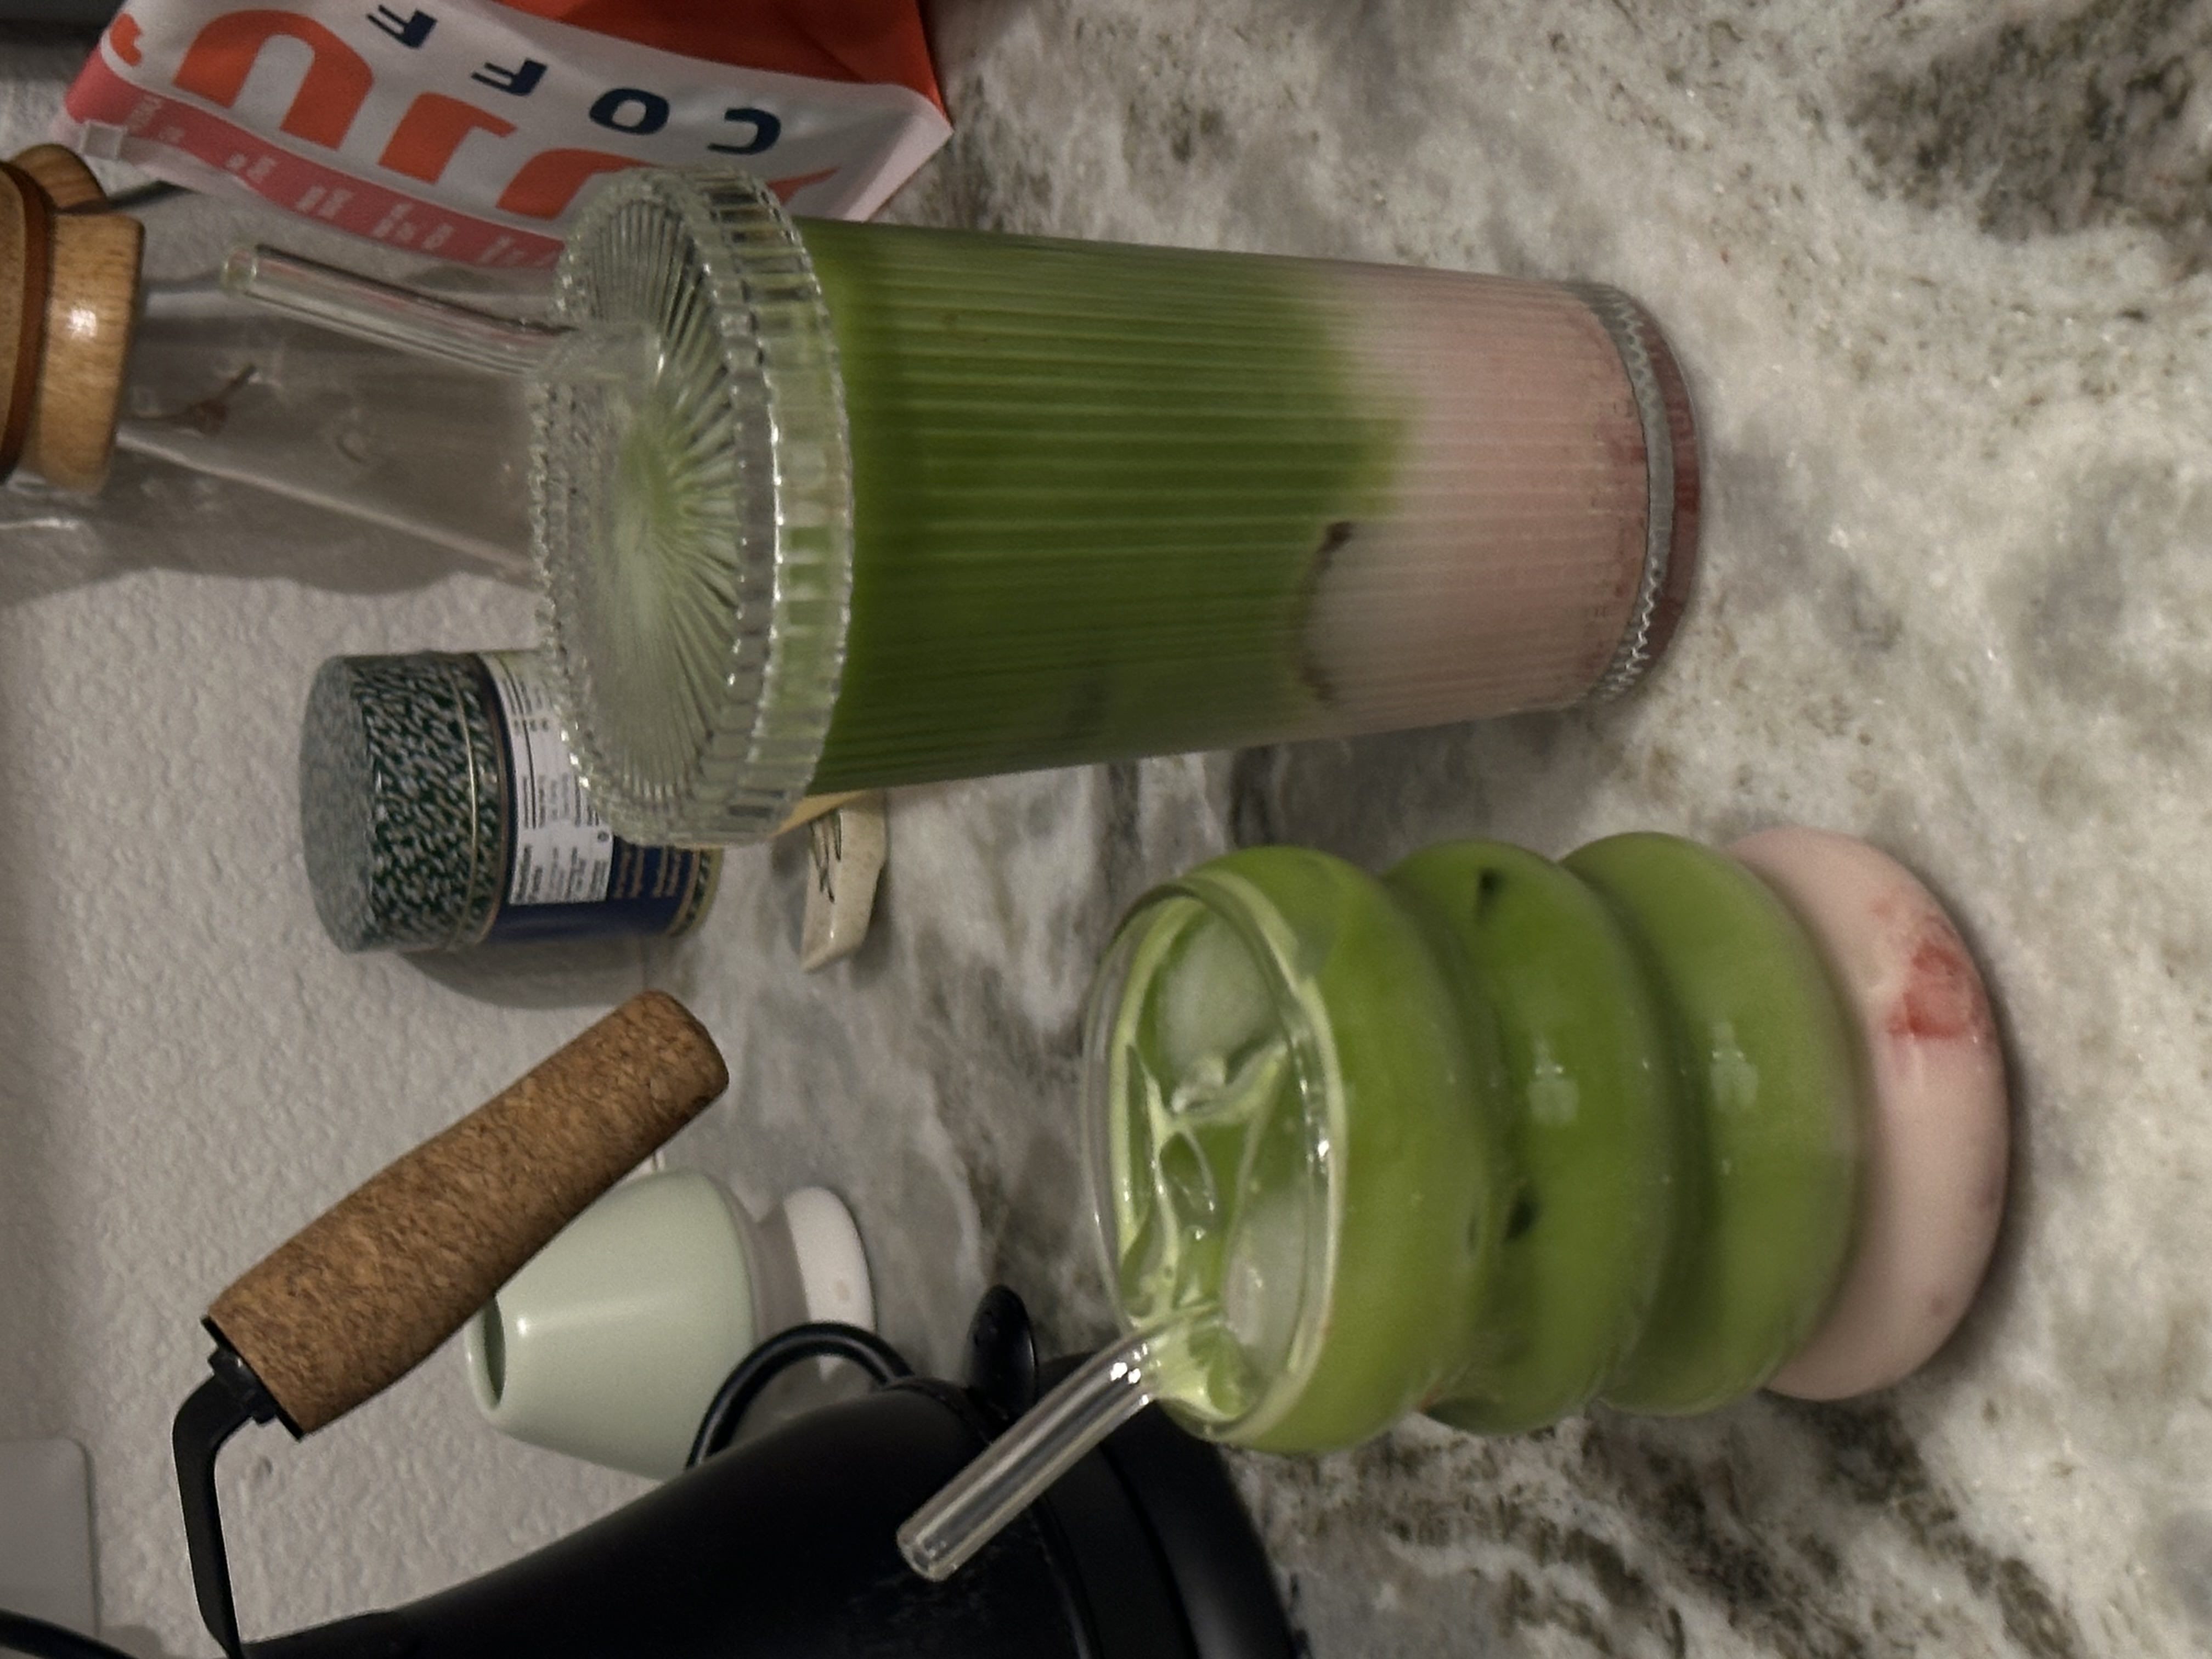
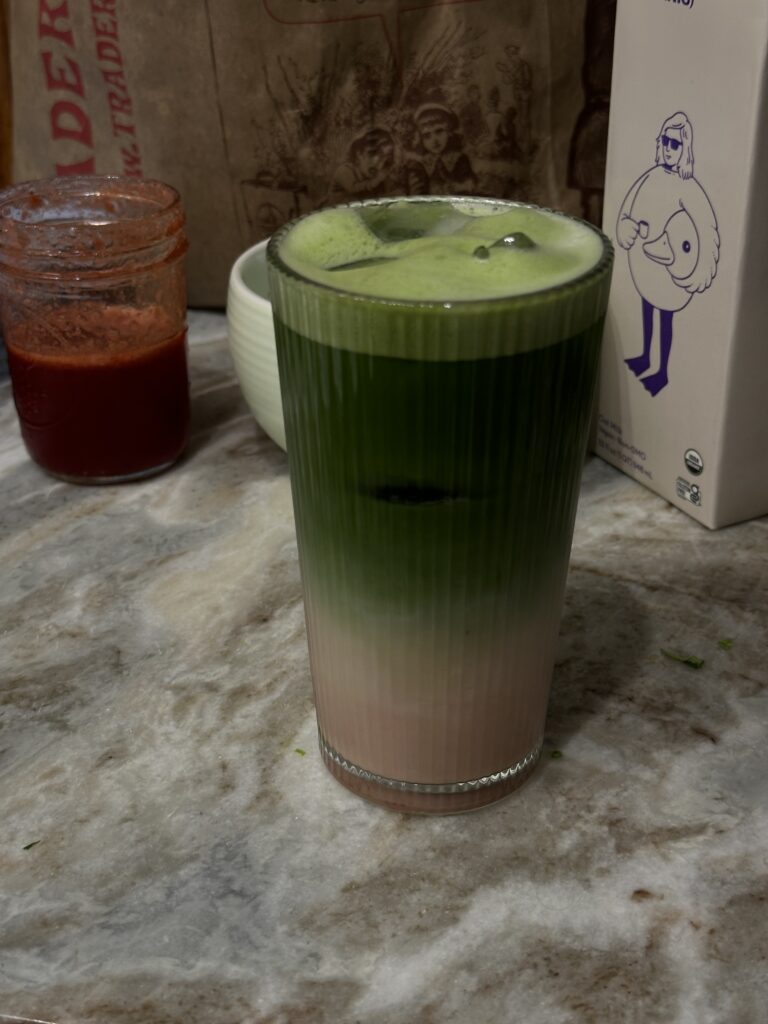
Strawberry Syrup for Matcha or Lattes
Look at how delicious your bonus syrup is a sweet addition to your favorite drinks. We offer a step by step on how to make THE best matcha latte: Check it out here! (live Monday Oct. 21st!)
Let us know how this recipe went for you! save and pin it for later! 🙂
In Christ,
Cosette
Lovely read! Can’t wait for part 2
obsessed, I’ll be back for more

Janine Lambaren and are very excited. We are living together now that we are both ‘single’ and aged. 🤗 we…